Green beans, pressure canned
The first thing most people pressure-can, and the jar that teaches the whole method: plain beans, salt if you like, nothing else.
Makes
About 9 × 500 ml (pint) jars from 4 kg (9 lb) of beans, or 7 × 1 L (quart) jars from 6.4 kg (14 lb)
Active time
1 hour
Total
2½ hours including venting, processing and cooling the canner
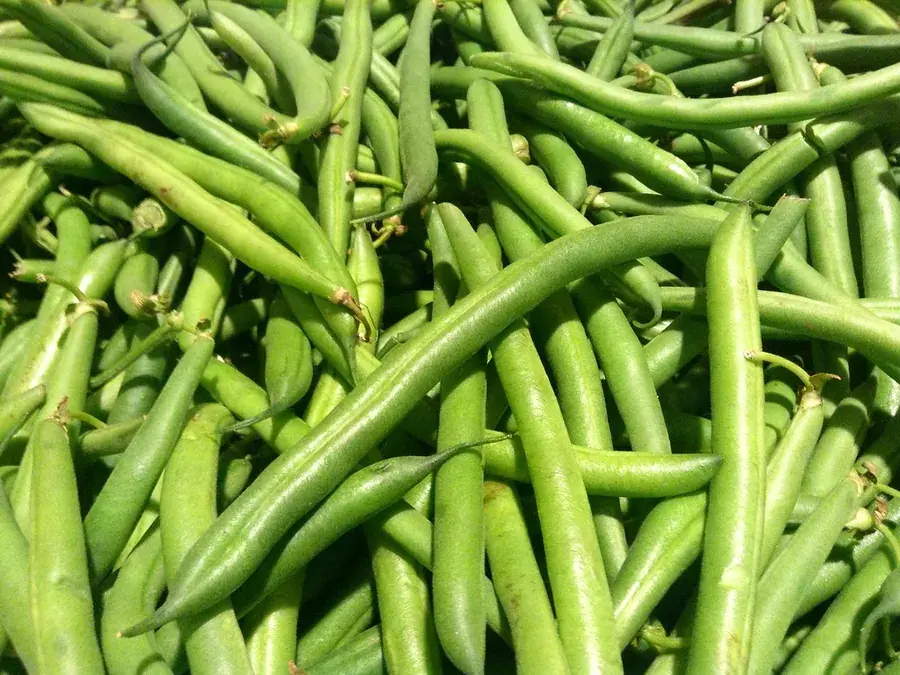
Photo JeepersMedia on Flickr · CC BY 2.0
Before you start
What keeps this jar safe
- Green beans are a low-acid vegetable and can only be canned in a pressure canner. A boiling-water bath, however long, does not reach the 116 °C (240 °F) needed to kill Clostridium botulinum spores.
- Do not add bacon, onion, butter or tomatoes — those are different recipes with their own tested times, or no tested time at all.
- Vent the canner for 10 minutes before pressurising; trapped air makes the inside cooler than the gauge says.
- If a jar has lost a lot of liquid, that is a quality issue, not a safety one, as long as it sealed and was processed the full time. Use it first.
- Know your altitude. Much of southern Quebec and Ontario sits under 300 m, but the Laurentians, Eastern Townships and Gatineau Hills climb above it, and the weighted gauge jumps to 15 psi the moment you do.
This follows NCHFP: Beans, snap and Italian — pieces (green and wax). Quantities, acid and times are theirs; do not scale the vegetables without scaling everything, and do not change the vinegar, lemon juice or processing time.
Ingredients
- 6.4 kg (14 lb) young, tender green or wax beans for 7 L jars — 4 kg (9 lb) for 9 × 500 ml jars
- Canning or pickling salt, optional: 1 teaspoon (5 ml) per 1 L jar, ½ teaspoon per 500 ml jar — flavour only
- Boiling water to cover
Processing
- Jars
- 500 ml (pint) · 1 L (quart) in brackets
- Headspace
- 2.5 cm (1 inch)
- Time at 0–300 m (0–1,000 ft)
- 20 min at 10 psi (weighted gauge)
- Higher up
- 1 L jars: 25 min. Weighted gauge: 10 psi at 0–300 m (0–1,000 ft), 15 psi above 300 m. Dial gauge: 11 psi at 0–600 m (0–2,000 ft), 12 psi at 600–1,200 m, 13 psi at 1,200–1,800 m, 14 psi at 1,800–2,400 m. Processing time does not change with altitude for pressure canning — only the pressure does.
Method
- 1
Put 5–7.5 cm (2–3 inches) of water in the pressure canner and set it to heat. Wash the jars and keep them hot; wash the lids in hot soapy water and set them aside.
- 2
Rinse the beans and snap off both ends. Leave whole or snap into 2.5 cm (1 inch) pieces — this is the job for small hands, and a child can fill a bowl while you fill the canner.
- 3
Hot pack (best texture): drop the beans into boiling water, bring back to the boil and boil 5 minutes. Raw pack: skip the boil and pack the raw beans tightly instead.
- 4
Fill the hot jars — loosely for hot pack, tightly for raw — leaving 2.5 cm (1 inch) headspace. Add salt if using. Cover with the hot cooking liquid (or boiling water for raw pack), keeping that 2.5 cm headspace.
- 5
Run a chopstick or bubble tool around the inside to free trapped air, top up if needed, wipe the rims, centre the lids and screw the bands on fingertip-tight. Lower the jars onto the rack.
- 6
Lock the lid, leave the weight off the vent and heat on high until steam streams steadily out. Let it vent for a full 10 minutes, then put the weight on (or close the petcock) and bring to pressure: 10 psi weighted or 11 psi dial at 0–300 m.
- 7
Start timing when the weight begins to rock or the dial reaches pressure: 500 ml jars 20 minutes, 1 L jars 25 minutes. Adjust the heat to hold the pressure steady; if it ever drops below target, bring it back and start the full time again.
- 8
Turn off the heat and let the canner cool on its own — never run water over it or lift the weight early. When the gauge reads zero (or the lock drops), remove the weight, wait 10 minutes, then open the lid away from your face.
- 9
Lift the jars straight up onto a towel and leave them 12–24 hours. Press each lid: a sealed one is dished and does not move. Refrigerate any that did not seal and eat within a few days.
Keeps: Best within 12 months in a cool dark cupboard, safe longer if the seal holds. Refrigerate after opening and use within 3–4 days. Never taste a jar that has lost its seal, bulges, leaks, spurts or smells off: treat it as containing botulinum toxin and dispose of it following NCHFP’s steps for spoiled canned food.
Variations: Wax beans and flat Italian (Romano) beans use the same times. Mixed-colour jars are pretty on the shelf and taste the same.
Tested source: NCHFP: Beans, snap and Italian — pieces (green and wax). Checked October 2026. If a jar did not seal, refrigerate it and use it within a few days. Never taste anything from a jar that is bulging, leaking, spurting or smells wrong — when in doubt, throw it out without tasting.
The crop
Green beans: when to pick, how to store, what else to make →
Green beans are the home freezer’s second crop after peas: snap or cut into 5–10 cm lengths, blanch 3 minutes, chill in ice water, drain, and tray-freeze before bagging. They also make the best pickle in this group — dilly beans, raw-packed with dill and garlic into sterilized jars (boiled 10 minutes) in a tested brine of equal parts 5 % vinegar and water with canning salt, processed 5 minutes in a boiling-water bath at 0–300 m by the NCHFP recipe. Plain beans in water are another matter entirely: they are a low-acid vegetable and must be pressure-canned, 20 minutes for 500 ml jars and 25 for litres at 10 lb (weighted gauge, 0–300 m). There is no safe boiling-water time for plain green beans, and no family recipe changes that — home-canned green beans top the historical list of foods behind botulism cases in North America, because for a century people water-bathed them. Drying green beans (‘leather britches’) works but gives a chewy, musty product; the freezer is better.
More for green beans
- Pickling
Dilly beans (pickled green beans)
Whole beans standing to attention in a garlicky dill brine — the first jar most families let the children pack.
About 8 × 500 ml (pint) jars · 45 minutes active
The recipe → - Freezing
Frozen green beans and peas
The two crops that come all at once and go over in days. Three minutes in boiling water for beans, a minute and a half for peas, and they are saved.
About 1 kg of beans fills three 1 L freezer bags; 1 kg of pea pods gives about 400 g of shelled peas · 30–45 minutes active
The recipe →