Roasted peppers, frozen
Char them while the grill is still out, then pull a bag of smoky strips for pizza or chili all winter. Sweet or hot, same method.
Makes
About 1 kg of fresh peppers gives 500–600 g of roasted strips, enough for four 250 ml tubs
Active time
40 minutes
Total
1½ hours including steaming and cooling
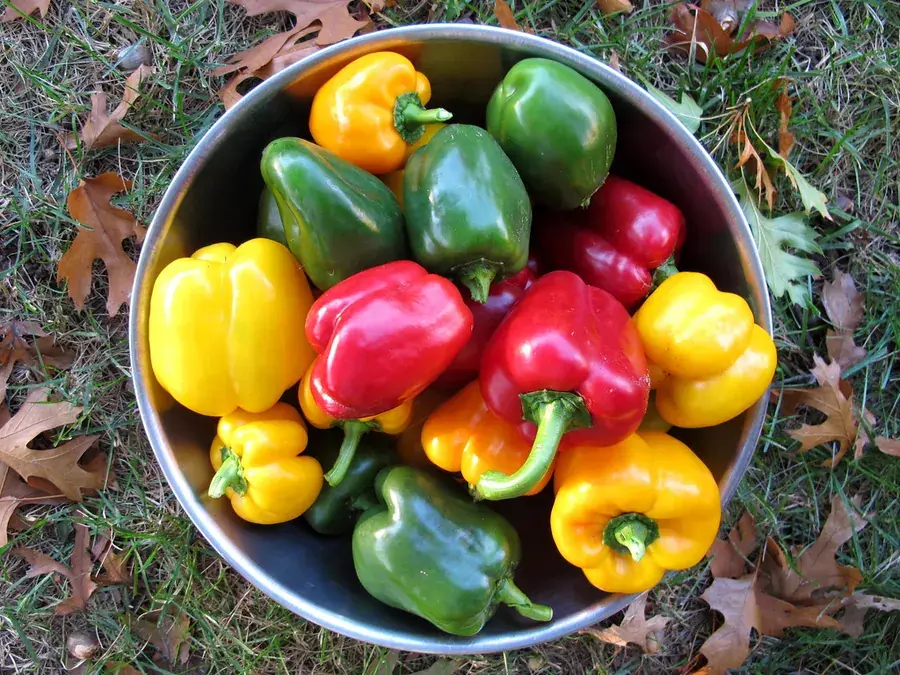
Photo OakleyOriginals on Flickr · CC BY 2.0
Before you start
What matters for this one
- Hot peppers: gloves, and glasses if you are grilling a lot of them. Capsaicin oil in the eyes or under fingernails hurts for hours, and the smoke off a grill full of chiles makes people cough.
- Cool roasted peppers to fridge temperature within 2 hours and freeze them within 3 days — a warm bowl of roasted peppers is a good place for bacteria to grow.
- Roasting is a quality step, not a preservation one. Freezing is what keeps them; roasted peppers at room temperature are not safe.
- Peppers are low-acid, so this frozen recipe is the simple route. Canning them needs a pressure canner and NCHFP’s tested peppers recipe, which these roasted strips are not.
- Do not store them under oil in the fridge or the cupboard: peppers or garlic in oil is a botulism risk unless frozen.
This follows Colorado State University Extension (Food Smart Colorado): Processing roasted chile peppers. Quantities, acid and times are theirs; do not scale the vegetables without scaling everything, and do not change the vinegar, lemon juice or processing time.
Ingredients
- Thick-walled sweet peppers, or hot peppers such as Anaheim, poblano, Hungarian wax or jalapeño — any quantity
- Nothing else; season when you cook with them
Method
- 1
Wash the peppers and leave them whole. For hot peppers, put on gloves and keep children away from the cutting board — they can help later with the labelling. Prick thick peppers once with a knife so they do not burst.
- 2
Blister the skins over high heat: on a hot grill, under the broiler on the top rack, or directly over a gas burner, turning with tongs until the skin is blackened and puffed on all sides. A slow roast over a flame gives a sweeter, smokier result than a fast one.
- 3
Drop the hot peppers into a covered bowl or a food-grade bag and let them steam 10–15 minutes; the skins loosen and the flesh finishes cooking.
- 4
Peel if you like — the charred skin rubs off with your fingers or a paper towel, rinsing lightly if needed — then pull out the stem and seeds and tear or slice into strips. Or skip peeling: whole roasted peppers frozen in their skins are easier to peel once thawed.
- 5
Cool the peppers quickly — spread on a tray in the fridge or over a bowl of ice — and get them cold within 2 hours of roasting. If they wait in the fridge, use or freeze them within 3 days.
- 6
Pack in freezer bags with the air pressed out, or in rigid tubs with 1.25 cm (½ inch) headspace. Pack in meal-sized amounts; label sweet and hot clearly and freeze.
Keeps: Best within a year at −18 °C (0 °F). Use from frozen in cooked dishes, or thaw in the fridge; the strips will be soft.
Variations: Unroasted peppers freeze too: halve or slice sweet peppers and freeze raw with no headspace for crunch-free cooking use, or blanch halves 3 minutes and strips 2 minutes for a softer result. Hot peppers freeze whole and raw, stems off.
Tested source: Colorado State University Extension (Food Smart Colorado): Processing roasted chile peppers. Checked October 2026. If a jar did not seal, refrigerate it and use it within a few days. Never taste anything from a jar that is bulging, leaking, spurting or smells wrong — when in doubt, throw it out without tasting.
The crop
Sweet peppers: when to pick, how to store, what else to make →
Peppers are the easiest vegetable in the garden to freeze: wash, core, slice or dice, and bag them raw — no blanching needed. Raw-frozen peppers stay crisper than blanched ones and go straight from the freezer into a pan, a soup or a stir-fry. Roasting first is the other great option — blister them under the broiler at 200 °C (400 °F) for 6–8 minutes, peel, and freeze the strips. Pickled peppers and pepper relish are classic and safe when you follow a tested recipe exactly, because peppers are a low-acid vegetable and the vinegar ratio is what makes the jar safe. What does not work is canning plain peppers in a water bath, or making your own ‘peppers in oil’ for the pantry: plain peppers must be pressure-canned (35 minutes for 250 ml or 500 ml jars at 10 psi, weighted gauge, near sea level), and oil-packed peppers are a botulism risk unless they are made by the tested NCHFP Marinated Peppers recipe, water-bath processed as written.
More for sweet peppers
- Water-bath canning
Choice salsa, water-bath canned
The tested salsa that lets you choose the peppers and onions — mild or fierce — as long as the measured cups and the lemon juice stay exactly as written.
About 6 × 500 ml (pint) jars · 1¼ hours active
The recipe → - Pickling
Zucchini relish
Bernardin’s hot-dog relish for the zucchini that got away — a touch of horseradish and one hot pepper give it its bite.
About 6 × 500 ml (pint) jars · 1½ hours over two days active
The recipe →